
//
Tutorial : Pimp my Prusa i3 – A 8$ trick to get a higher print quality with your Afinibot prusa
By : ElectronicGeek.ca
2015-7-9
This simple and inexpensive tutorial will allow you to stabilise your Prusa i3 on a board using these hooks. Less vibration = better quality of prints and also with such stable base you will need to do the bed calibration less often.
The material:
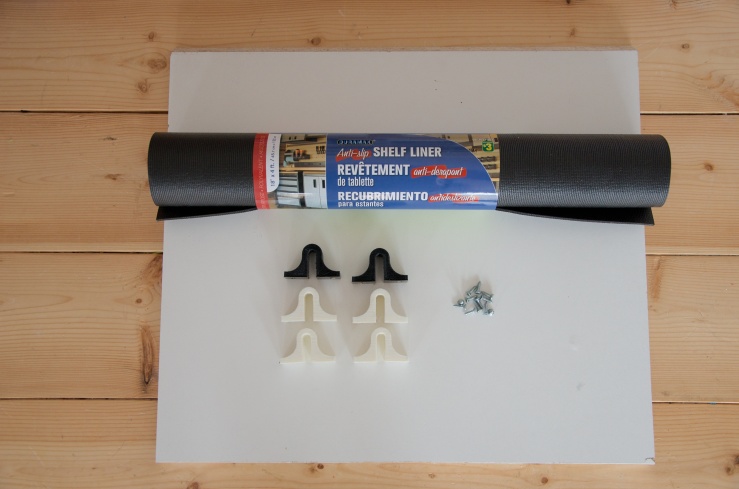
– 6 hooks
(you can print them using this .STL file: here ) – free
Alternative download link: http://www.thingiverse.com/thing:919399/#files
– 1 anti-slip shelf liner (at least 16″ large)
(available in a hardware store or at a one-dollar shop such as Dollarama) – 3$
– 1 plywood or melanine panel size: 18″x16″ thickness 5/8″
(available in a hardware store, ask for cuttings or scrap panel) – 4$
– 8 screws (ex 3/4″ size 8)
(available in a hardware store or in your drawer’s bottom 🙂 ) – 1$
Tools needed:
-Scissor
-Screwdriver
-Saw (optional, only if you need to cut the melanine panel)
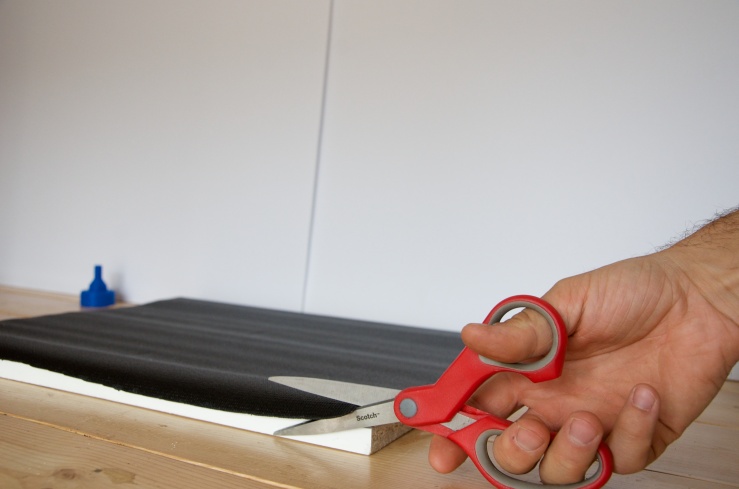
Step 1:
Cut the anti-slip shelf liner at the same size than you melanine board 16″x18″.

Step 2:
Place your prusa i3 (this is not the Afinibot model shown) on the panel. Make sure the printer sits on the shelf liner everywhere.

Step 3:
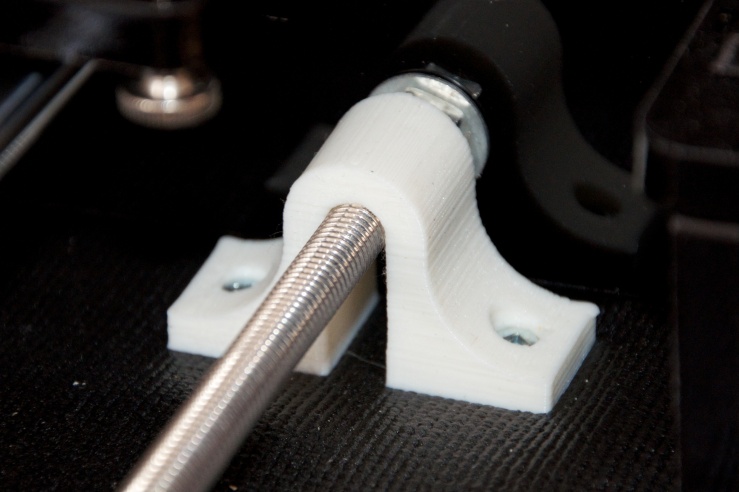
Place the hooks on the threatened rod as show in the 2 pictures:


Step 4:
Screw the hooks on the board.

Step: 5:
Redo the calibration and enjoy 🙂
If you liked this tutorial, Like us on Facebook
You can share this tutorial with your friend using the button bellow:
